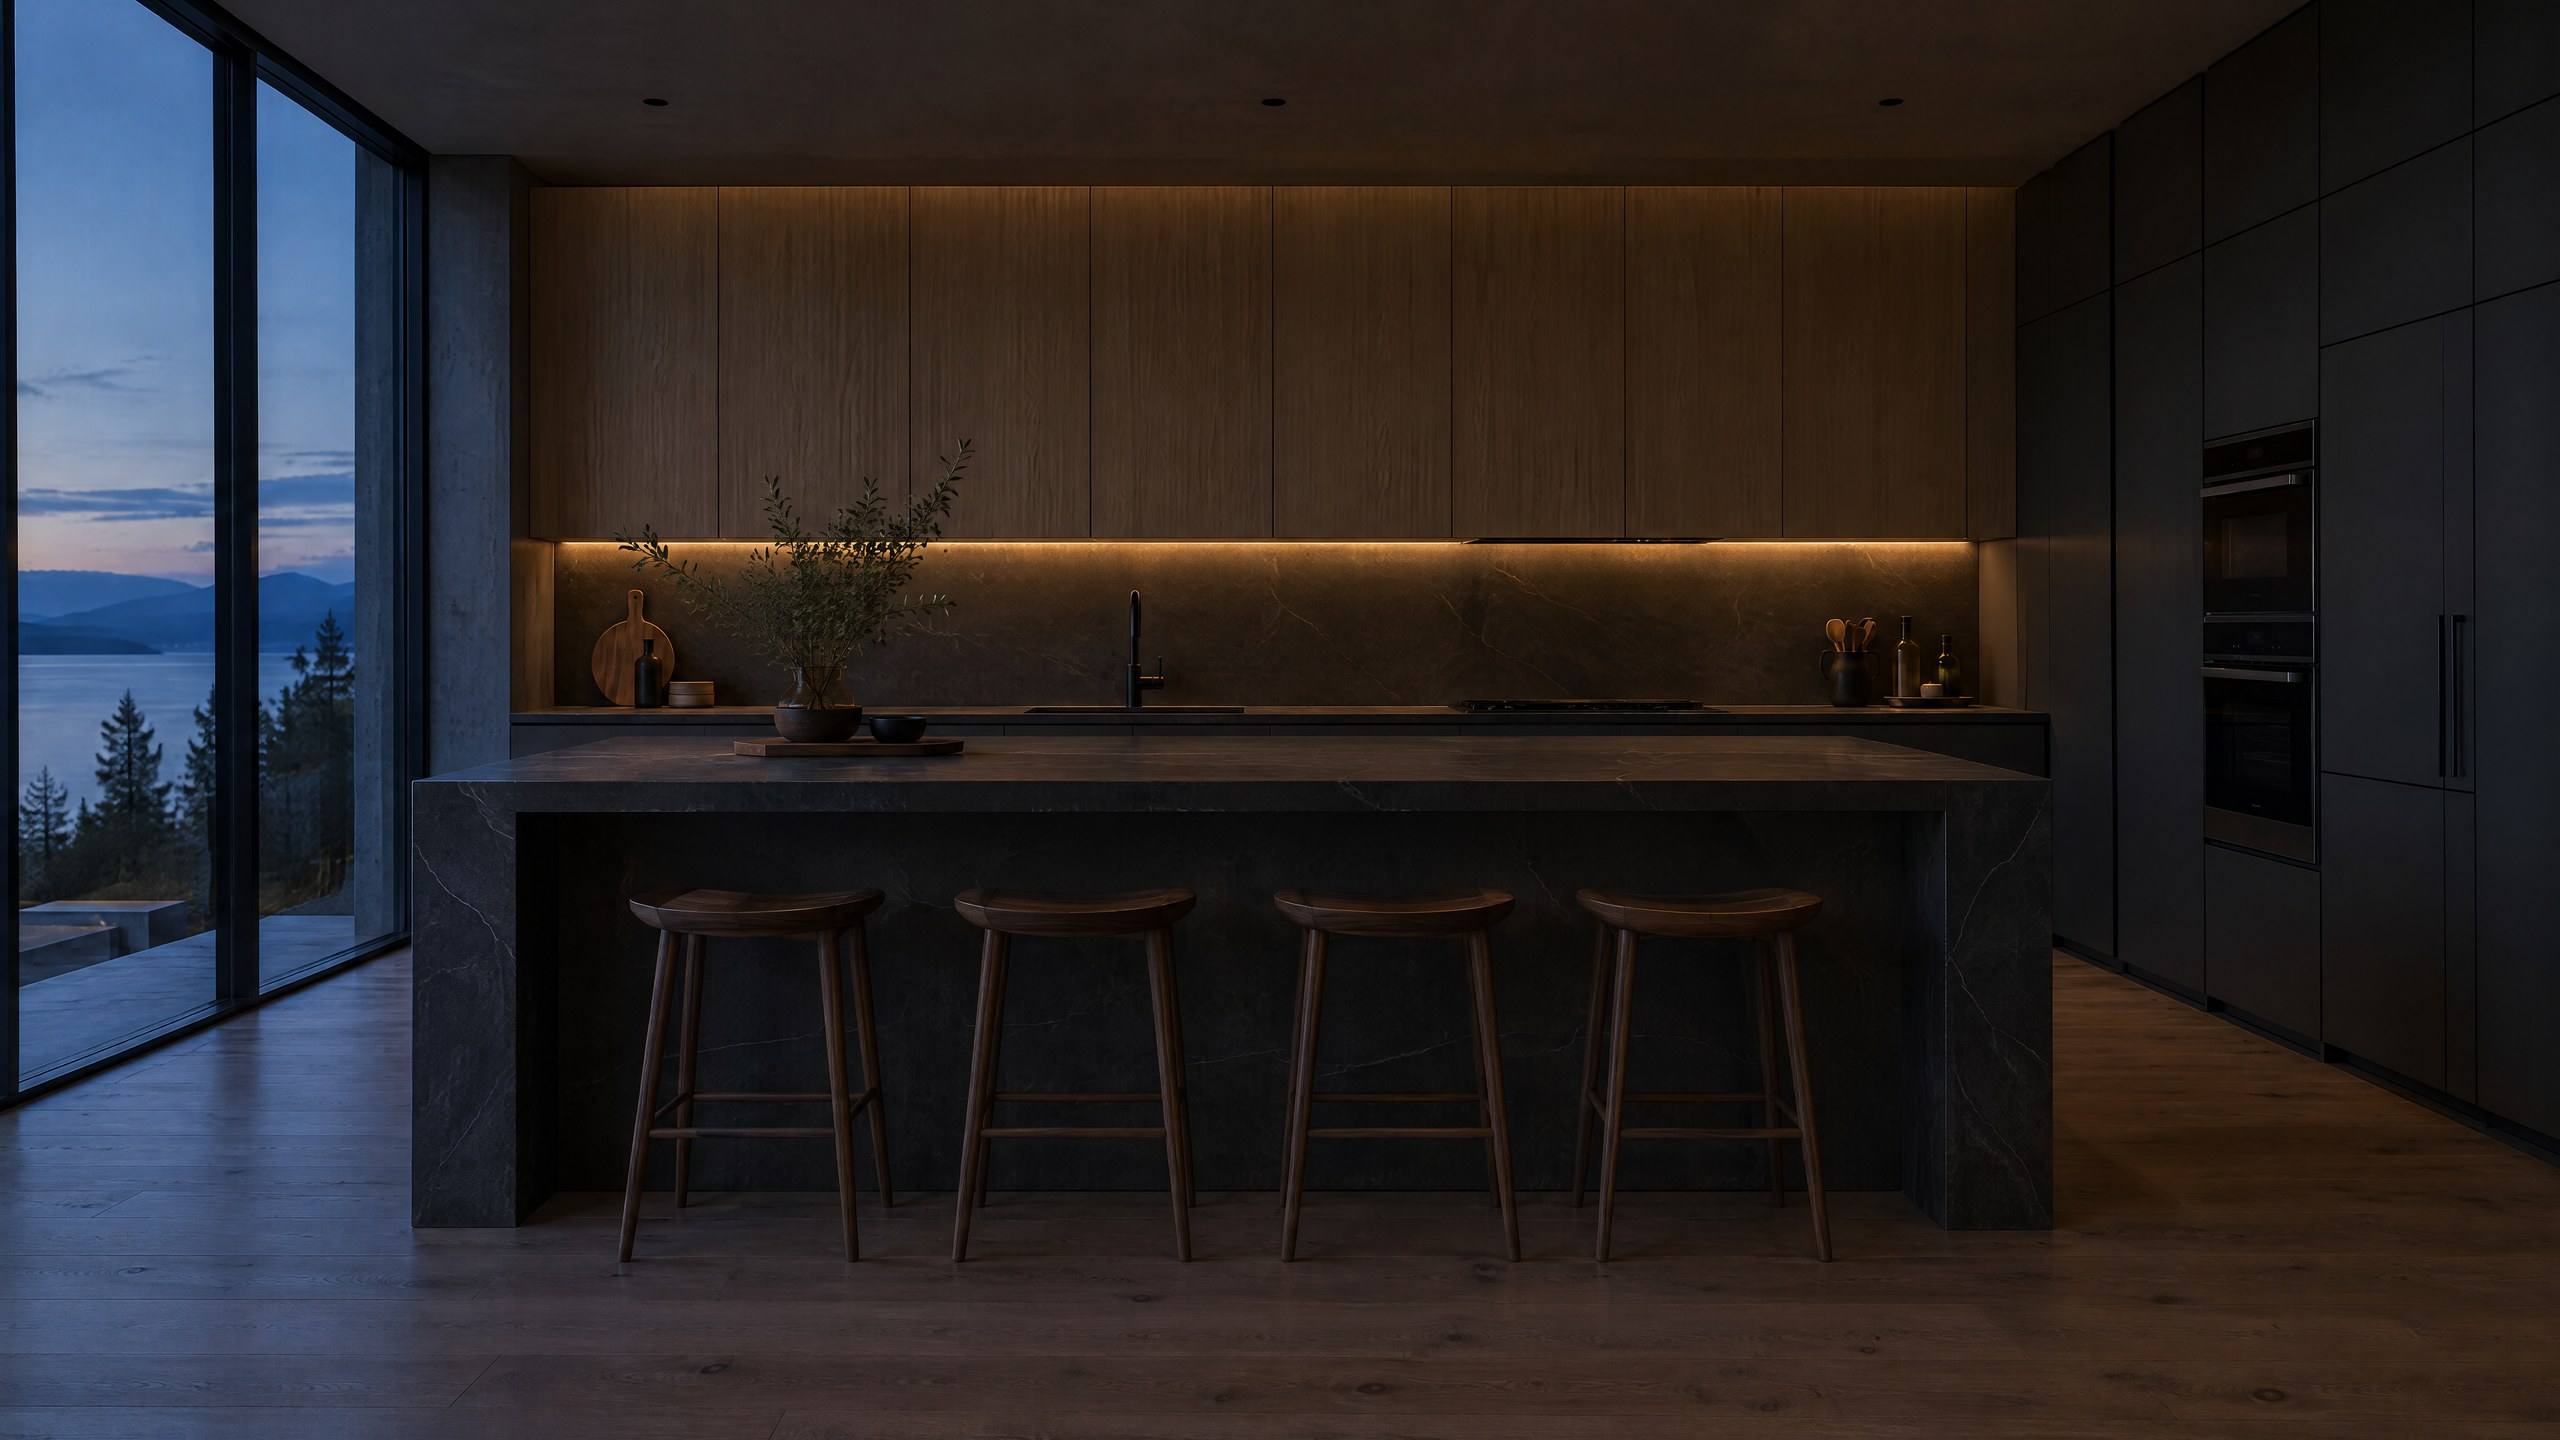
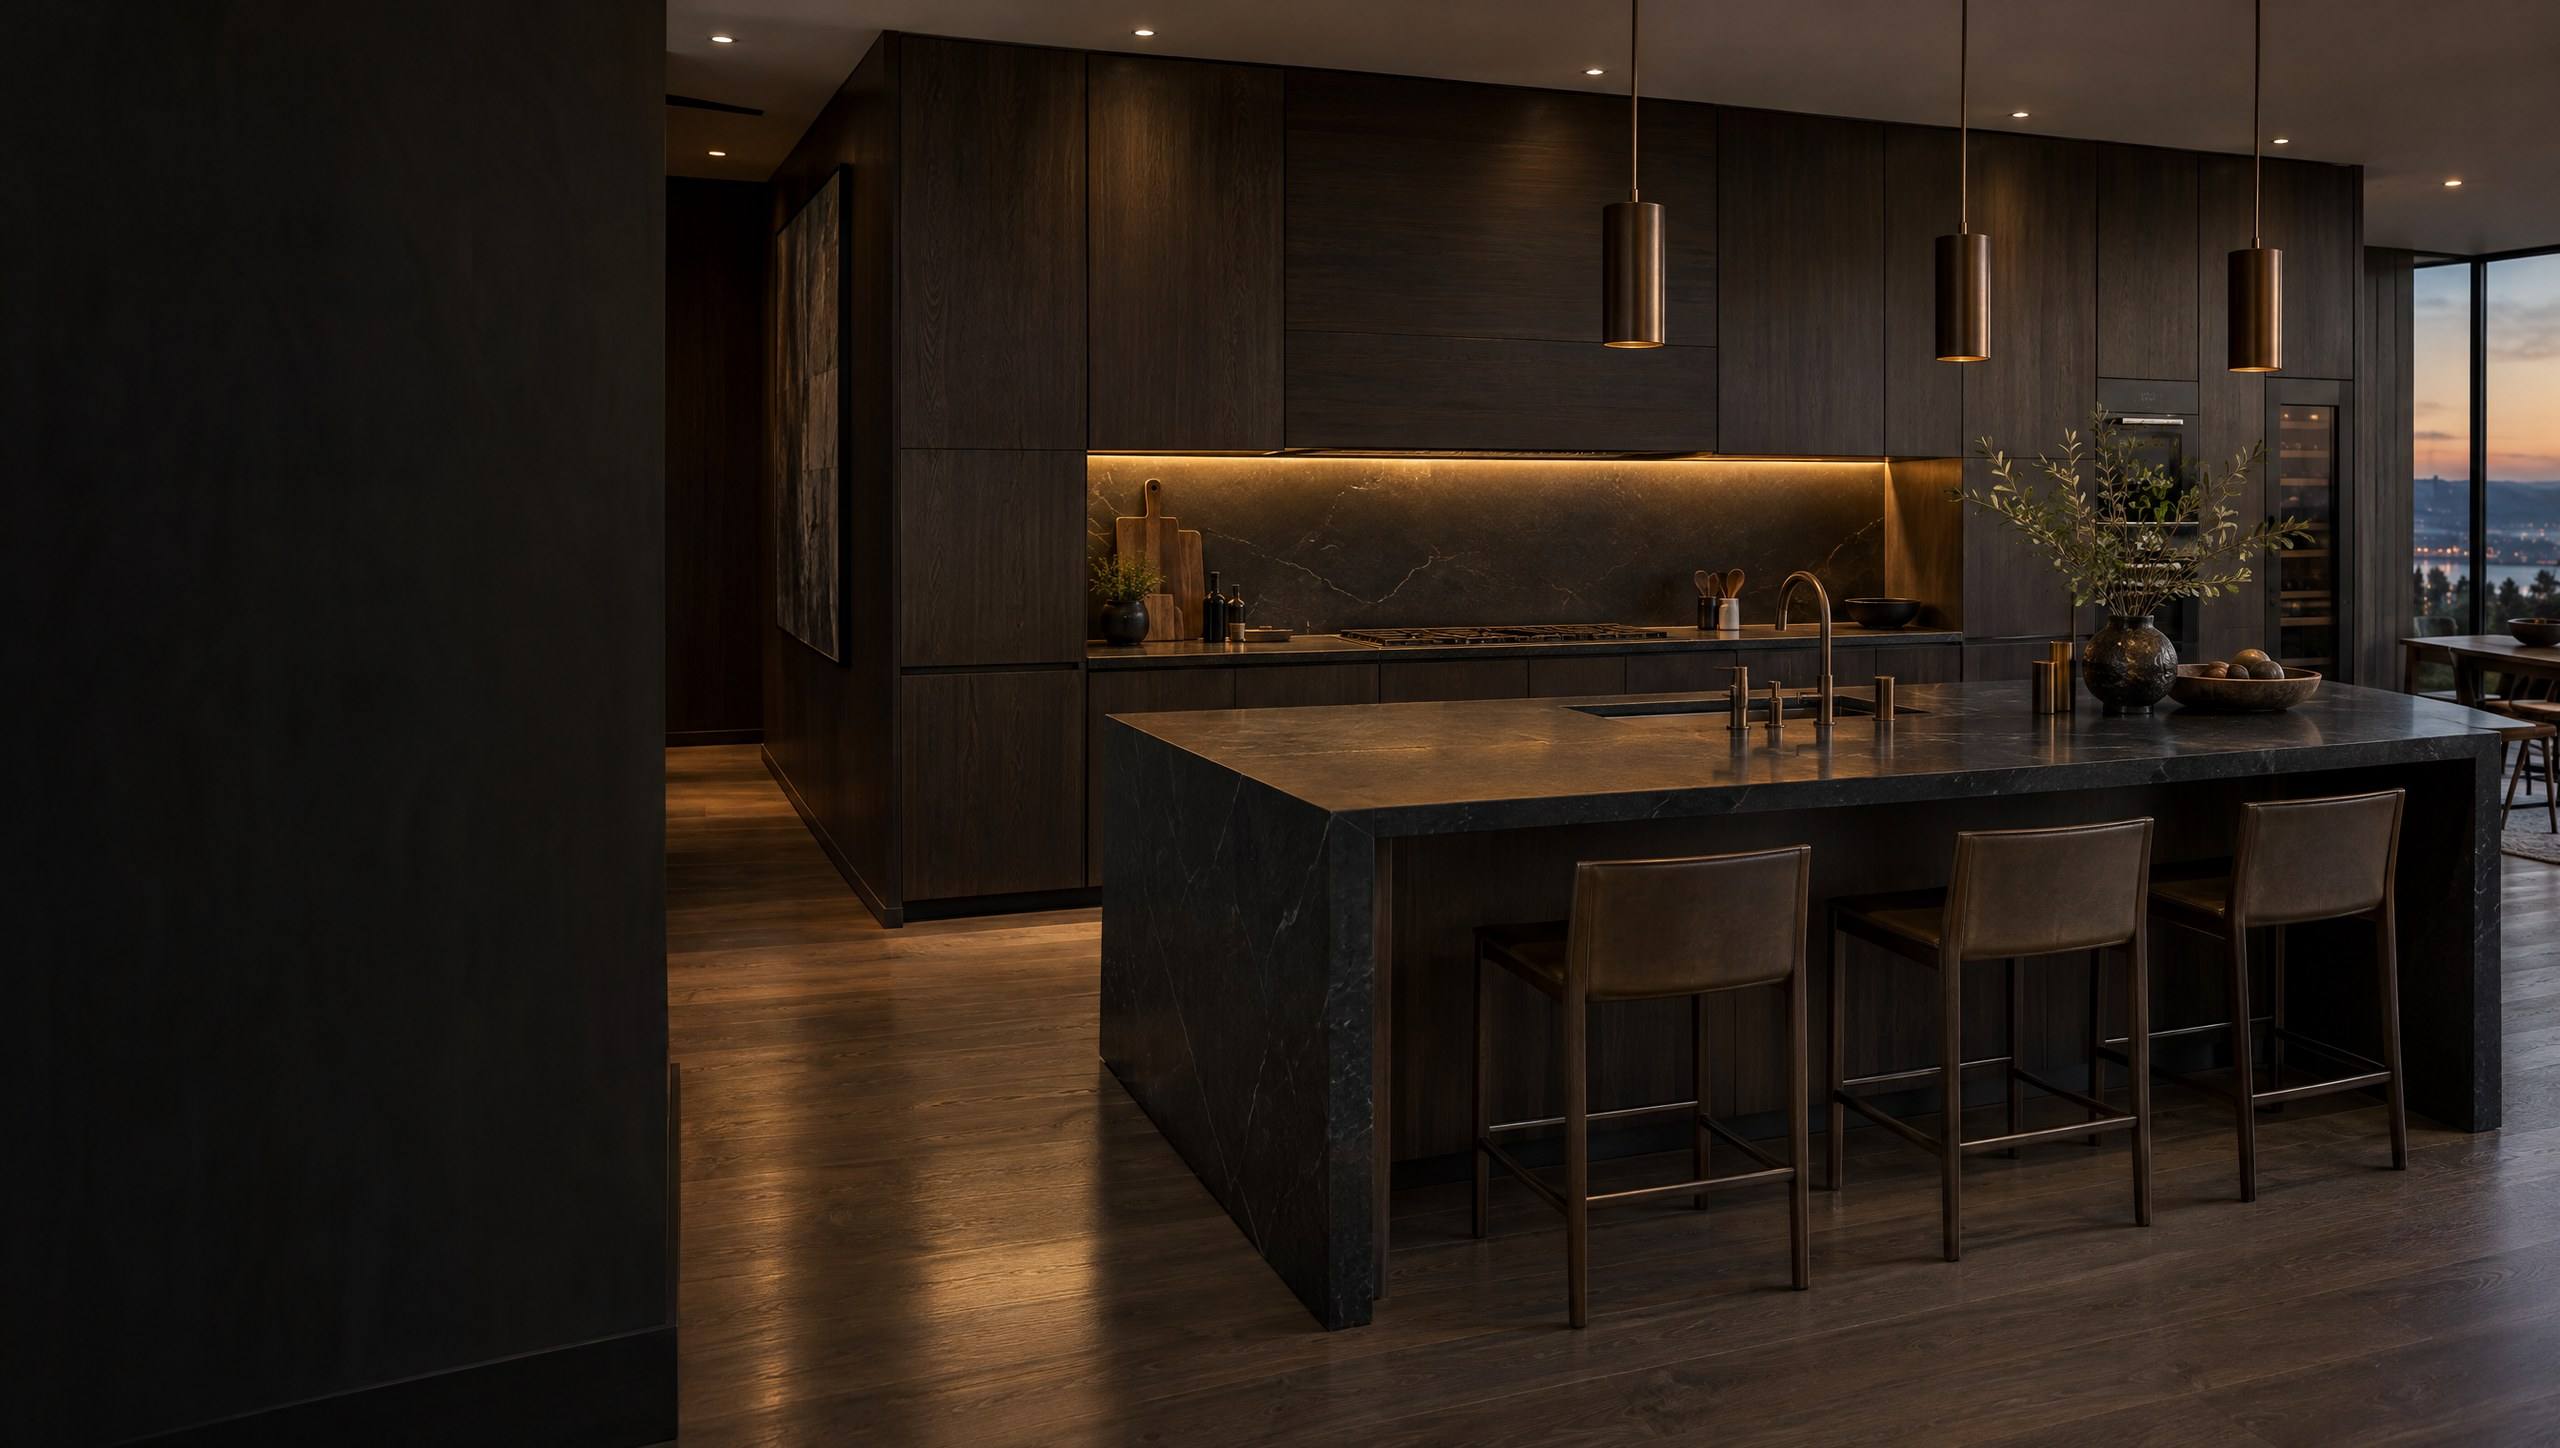
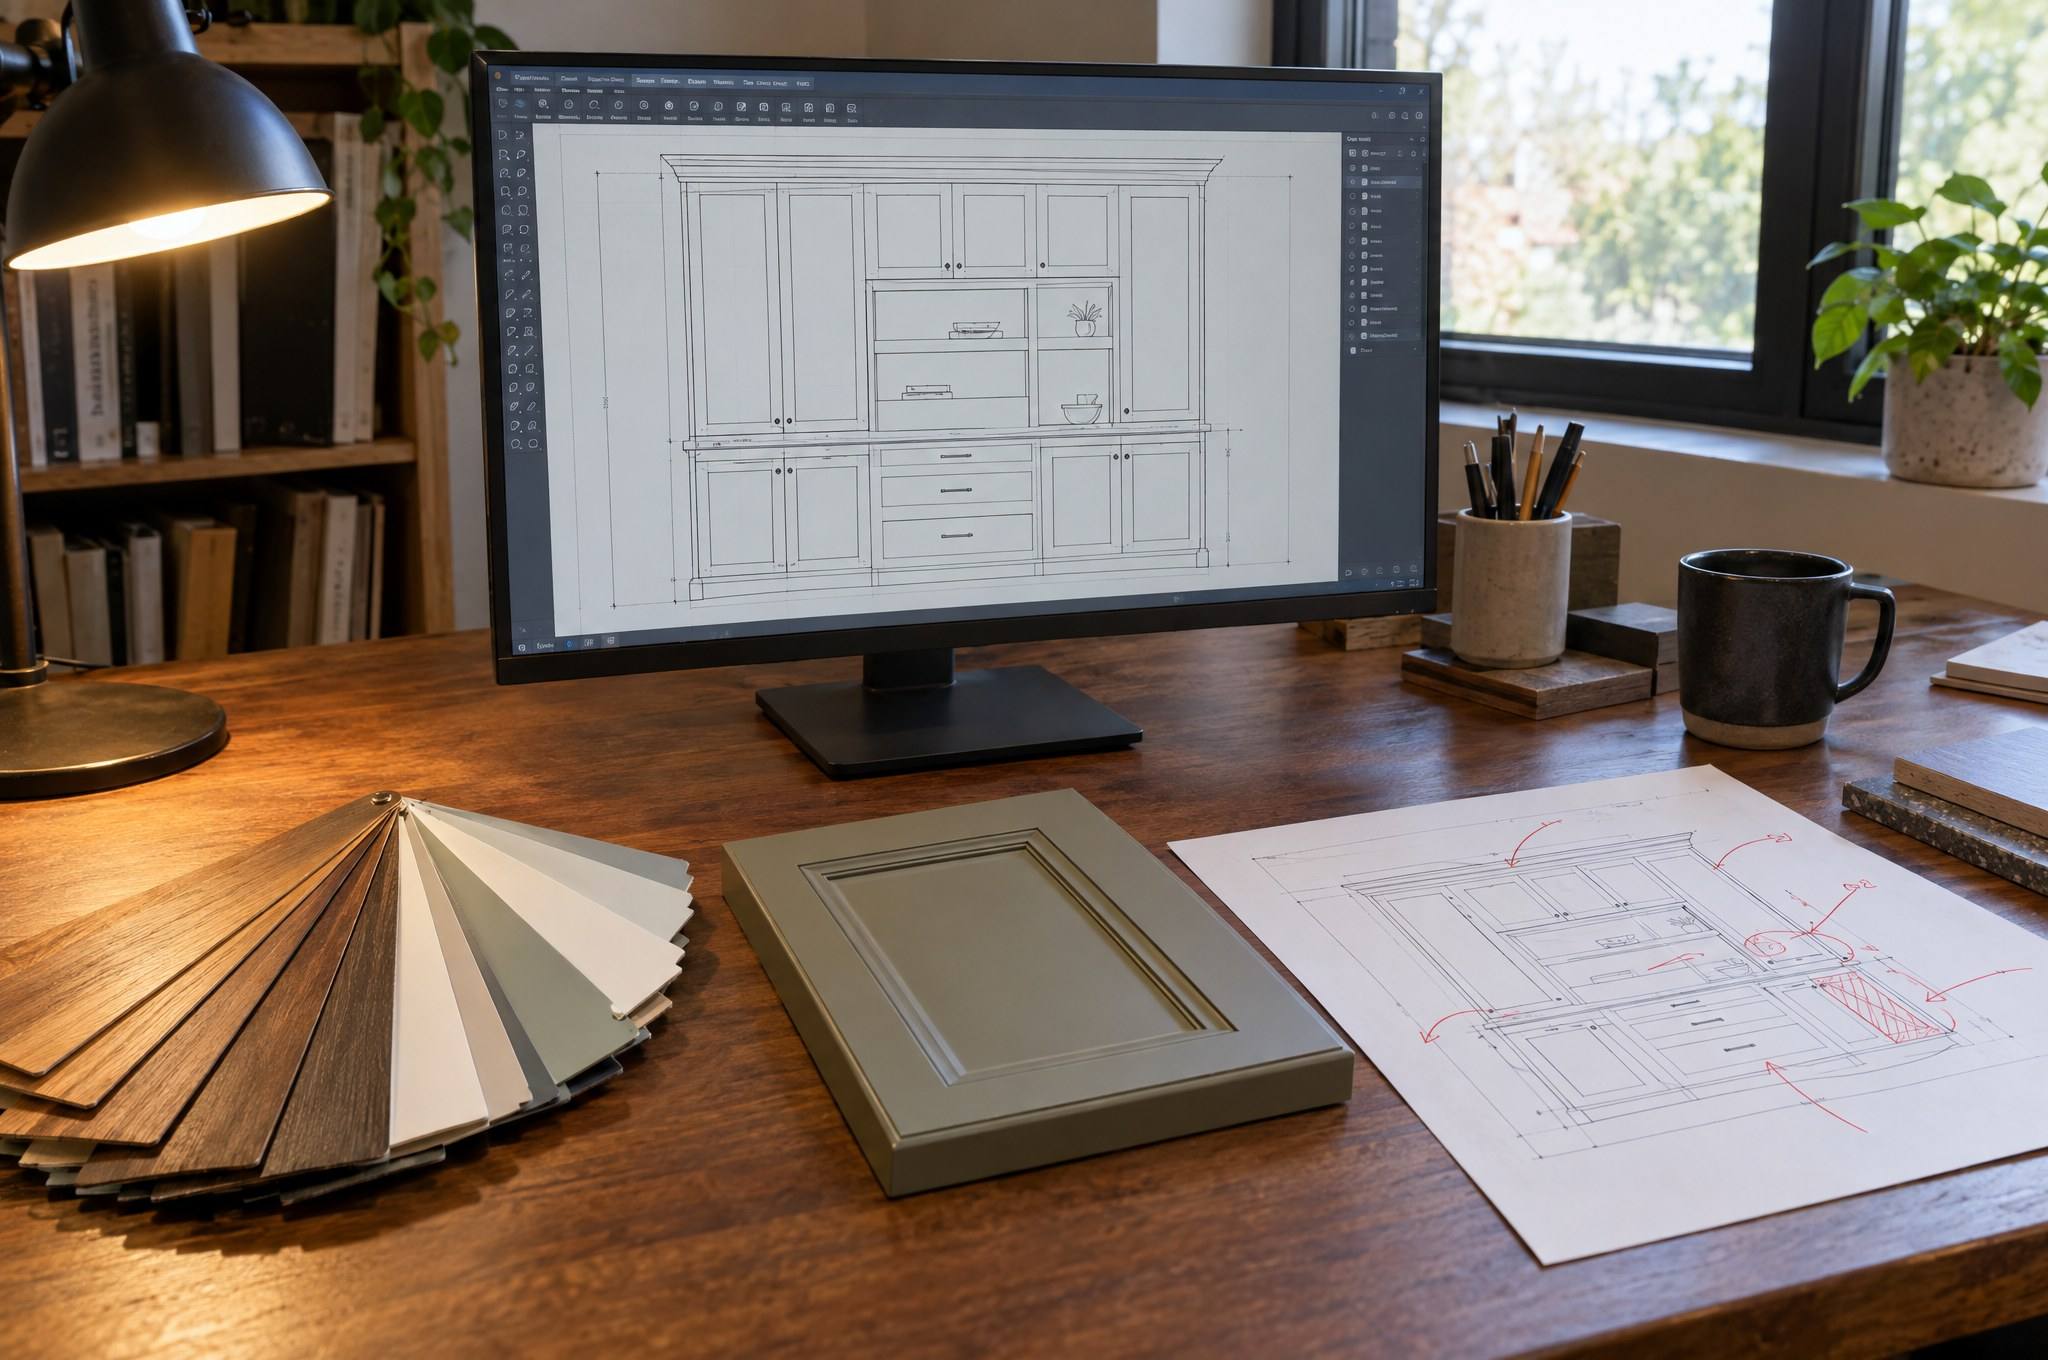
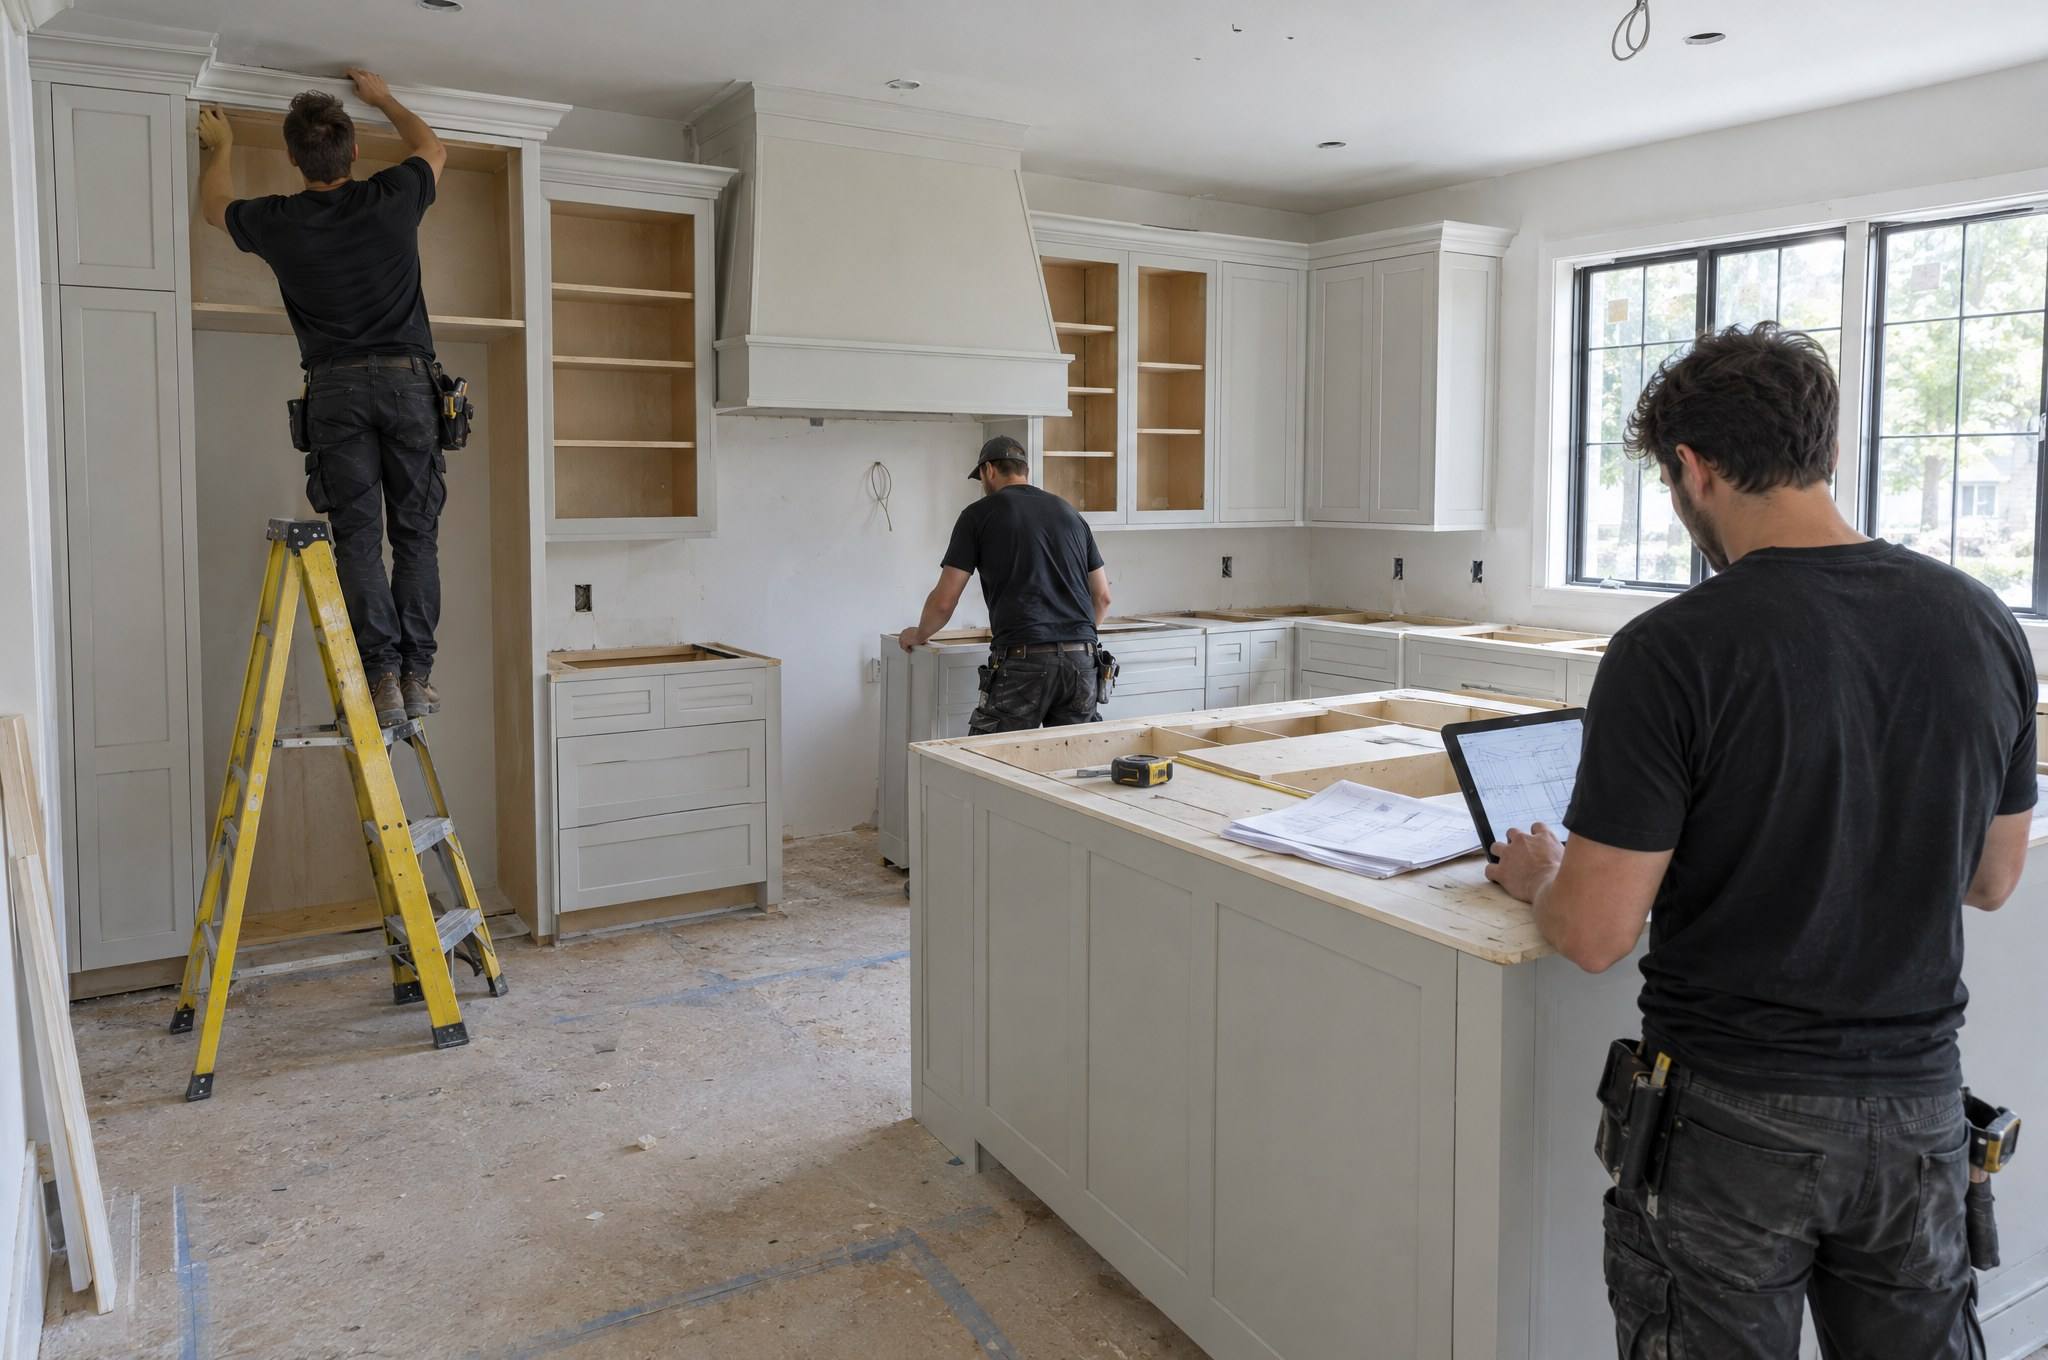
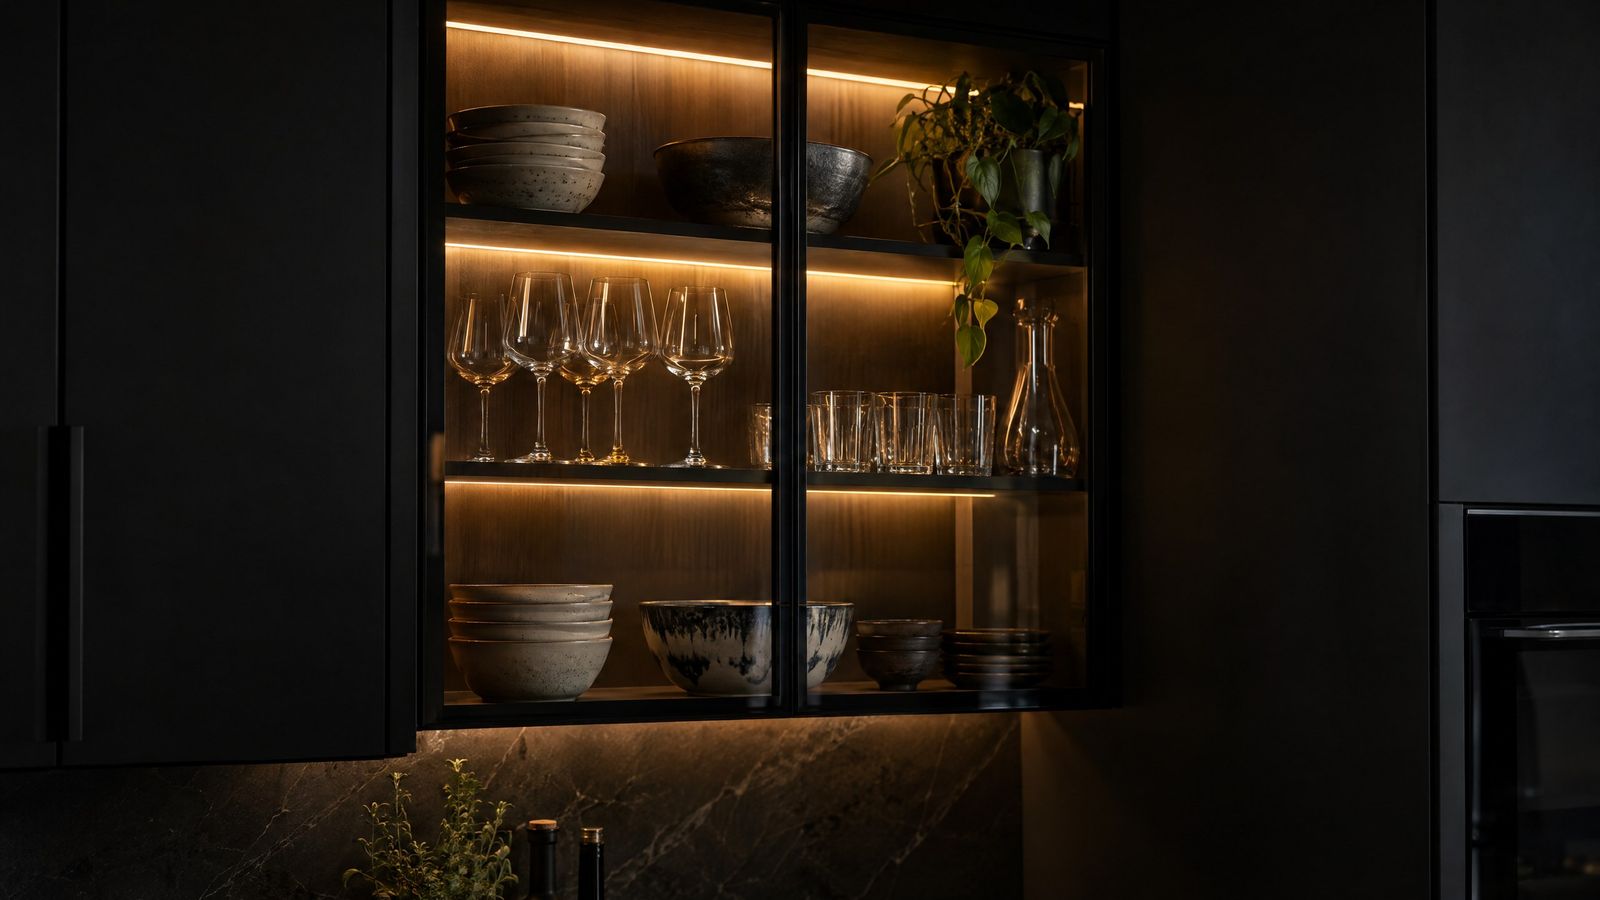
Under-cabinet lighting looks best when the cabinets are designed around it, because the fixture position, the trim that hides it, the driver location and the spot where the wire leaves the wall are all fixed once the boxes are hung. Retrofitting usually means visible cords, surface raceways or fixtures you can see from the dining table.
Daylight saving time ends November 1, 2026. After that, most weeknight cooking happens under artificial light, and that's when counter shadows show up. A ceiling fixture behind you casts your own shadow onto the work surface, and the upper cabinets block much of what's left. Lights under the uppers solve that, but only if they're planned in the right order.
Here's the order we'd work through it, with what goes wrong at each step if it gets skipped.
- Light position under the cabinet
- Recess or light rail to hide the fixture
- Driver location
- Switching and zones
- Wire paths, before drywall or before the boxes are hung
1. Decide where the light sits under the cabinet
Mount the fixture toward the front of the cabinet bottom, not tight against the wall. From the front, light falls on the area where you actually chop and read recipes, and it reaches the backsplash at a low angle that still shows tile texture. A fixture pushed to the back washes the wall brightly and leaves a dimmer strip at the front edge of the counter, right where your hands are.
Look at the countertop finish too. Polished quartz and granite act like a mirror, so a row of individual LED dots shows up as a row of bright reflections. A fixture with a frosted lens or a diffused channel spreads the light into an even line. Honed and matte surfaces are more forgiving.
If you skip it: the light lands in the wrong place, and moving it later means new holes in a finished cabinet bottom and possibly new wire exits.
Map the gaps
Note every stretch of counter without an upper above it: the window, the range hood, an open shelf. Each gap splits the lighting into separate runs, and each run needs its own power feed or a connection that crosses the gap. That matters for steps 3 and 5.
2. Choose a recess or a light rail
Something has to hide the fixture. If the cabinet bottom is flush with the bottom edge of the box and the fixture just screws on, anyone seated at a nearby table or standing in an adjoining room sees the hardware. There are a few ways to handle it.
| Option | How it hides the light | Best for |
|---|---|---|
| Light rail molding | A trim strip along the front bottom edge blocks the view of the fixture | Traditional and transitional kitchens, puck or bar fixtures |
| Recessed cabinet bottom | The bottom panel sits up inside the box, so the sides and face create a lip | Clean-lined kitchens where a molding would look fussy |
| Routed channel | A groove cut into the bottom holds LED tape flush with a diffuser cover | Slim, modern looks and tape lighting |
| Flush bottom, surface fixture | Nothing hides it | Spots where no one sees under the uppers |
Why this has to happen at the design stage
A recessed bottom or a routed channel is part of how the cabinet is built. A light rail has to match the cabinet finish and fit the door overlay. Neither is a clean add-on after the cabinets arrive. Our preference: use a recessed bottom with a diffused tape channel for slab-door and frameless kitchens, and a light rail for shaker and raised-panel doors, where the molding reads as part of the style. When we design kitchen cabinetry built around your lighting plan, this is one of the first details we settle.
If you skip it: you either see the fixtures forever or add trim after the fact that may not match.
3. Pick a home for the driver
Most LED tape and many puck systems run on low voltage and need a driver (sometimes called a transformer) to convert household power. Hardwired line-voltage fixtures don't need one, but low-voltage systems are common because they allow thin fixtures.
The driver gives off heat, can fail and has to be reachable for replacement. Good locations include the cabinet above the refrigerator, the space above uppers if it's open, or the inside of an upper behind a small removable panel. Your electrician will know what local code requires for access. Avoid burying it in a wall cavity or behind a cabinet back.
Size and placement details
- Size the driver with headroom above the total fixture load. The driver maker's spec sheet will say how much.
- Long runs of tape lose voltage, so the far end looks dimmer. Feeding from the middle of a run, or using more than one driver, helps.
- If you want dimming, the driver and the dimmer have to be compatible types. Mismatches cause flicker and buzz.
If you skip it: the driver ends up stuffed somewhere it overheats or can't be replaced without pulling a cabinet.
4. Settle the switching
Put the under-cabinet lights on a wall switch, ideally a dimmer, near the kitchen entry or grouped with the other kitchen controls. Lights that only turn on with a tiny rocker on each fixture tend to go unused. Decide whether all runs come on together or in zones, and whether you want a smart switch or a motion sensor.
If you skip it: you get one switch per run, switches in odd spots, or plug-in fixtures with cords dropping to outlets in the backsplash.
5. Map the wire paths before drywall or before the boxes go up
This is the step that makes or breaks the job. The feed for each run should come out of the wall where it will be hidden: just below the upper cabinet bottom inside the light rail or recess, or behind the cabinet so it enters through the back. Low-voltage wire from the driver to the fixtures often travels through holes drilled in cabinet sides or backs, which only works if everyone knows which cabinets those are.
Who does the wiring
Cabinets911 doesn't do electrical work. A licensed electrician should handle the wiring and any permit your jurisdiction requires. Our part is building the cabinet details and coordinating hole locations.
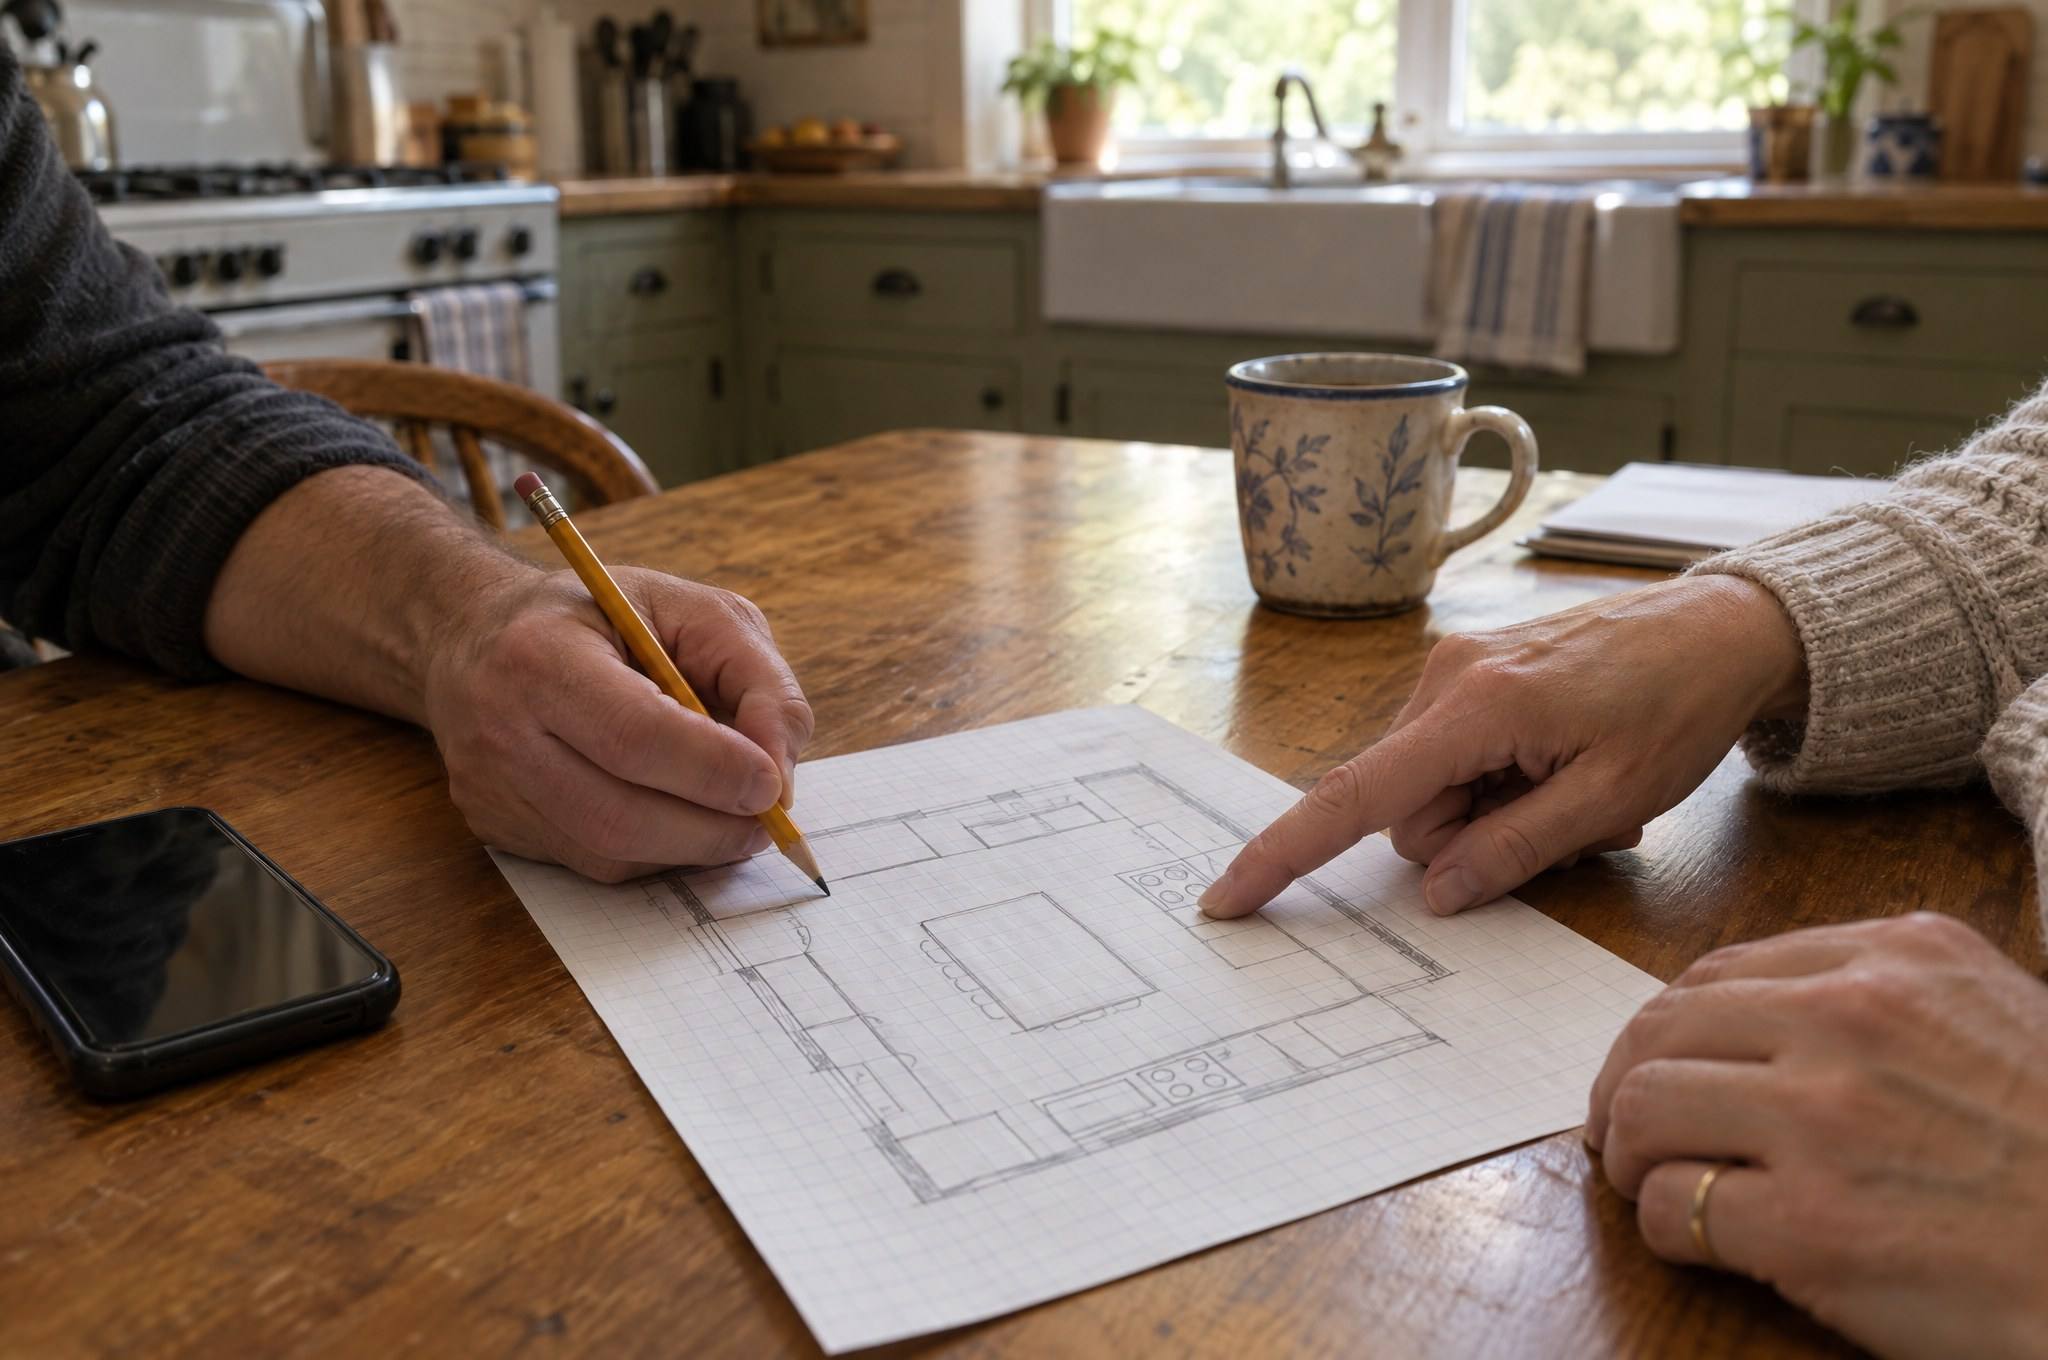
- Finalize the cabinet layout with dimensions, including the height of the upper cabinet bottoms.
- Mark fixture runs, gaps, driver location and switch location on the cabinet drawings.
- Have the electrician rough in feeds to those marks before drywall, or while the wall is open before the boxes are hung.
- During cabinet installation, drill pass-through holes in the planned cabinets and keep the wire ends accessible.
- Tile the backsplash after the wire exits are confirmed.
If you skip it: wire exits land in the middle of the backsplash, cross gaps on the surface, or need the cabinets pulled off the wall to fix.
If your cabinets are already in
Plug-in and battery fixtures work, and a surface raceway painted to match can tidy a cord. They're compromises. If you're planning new cabinets or a cabinet replacement, mention lighting when you request a quote so it's in the drawings from the start.